Tips on Project Photography
Project photography is a critical element in your application for a waterfront permit. To make sure your photos successfully tell your project story, follow these guidelines.
How to take a good project photo
Tip #1
Take quality color photos
Plan to take new (current conditions) photos of your subject. To ensure quality:
- Take a number of photos, then choose the best. You will need at least three (3) quality color photos per project. You may include more than three.
- Use a tripod if necessary so the photos are clear and focused.
Tip #2
Capture your project site from all necessary angles and distances
Your photos should show:
- The entire site. It’s important that your photos show the entire site from different angles. Make sure your photos tell a story. If you have a structure in need of repair, take good quality close-ups and annotate them with details of the current conditions.
- All important features. Be sure to photograph the various features of your entire project site, including easily missed items such as the surrounding environment or the neighboring properties.
- The proximity to nearby structures. Include any nearby buildings or hard structures in your photos. Don’t crop them out.
- Check DEC’s Drawing Guidelines for Waterfront Activities for specific photo requirements for different project types.
Tip #3
Provide high resolution prints
You can use either a traditional, professionally-printed color prints, or you can do it yourself with a color printer, provided the resolution is high quality. Be sure to:
- Mount or print photos onto 8 ½ “ x 11” paper
- Each photo should be printed at a minimum of 3.5” x 5” print size
- If you’re printing out digital photos, print them at a minimum resolution of 600 dots per inch (dpi).
Tip #4
Label your photos and use a photo key map
Organize and label the photos to help orient the review team.
- Date each photo. Show the date the photo was taken.
- Caption your photos. Explain what the viewer is looking at.
- Create a photo key map. A photo key map is an annotated version of the existing conditions site map. It shows the location of each of your submitted photos, labeled, for reference, with arrows pointing in the direction of the view.
Photo Key Map
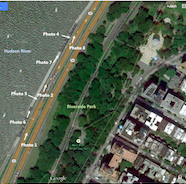

Photo Example 1
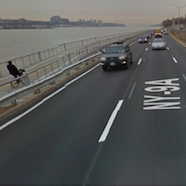
Photo Example 2
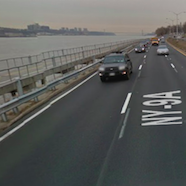
Photo Example 3
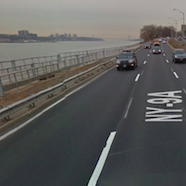
Photo Example 4
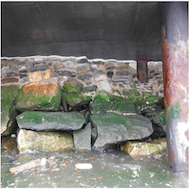
Photo Example 5
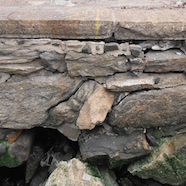
Photo Example 6
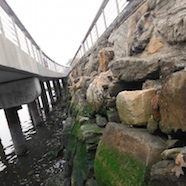
Photo Example 7
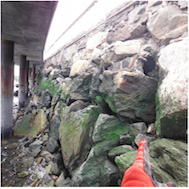
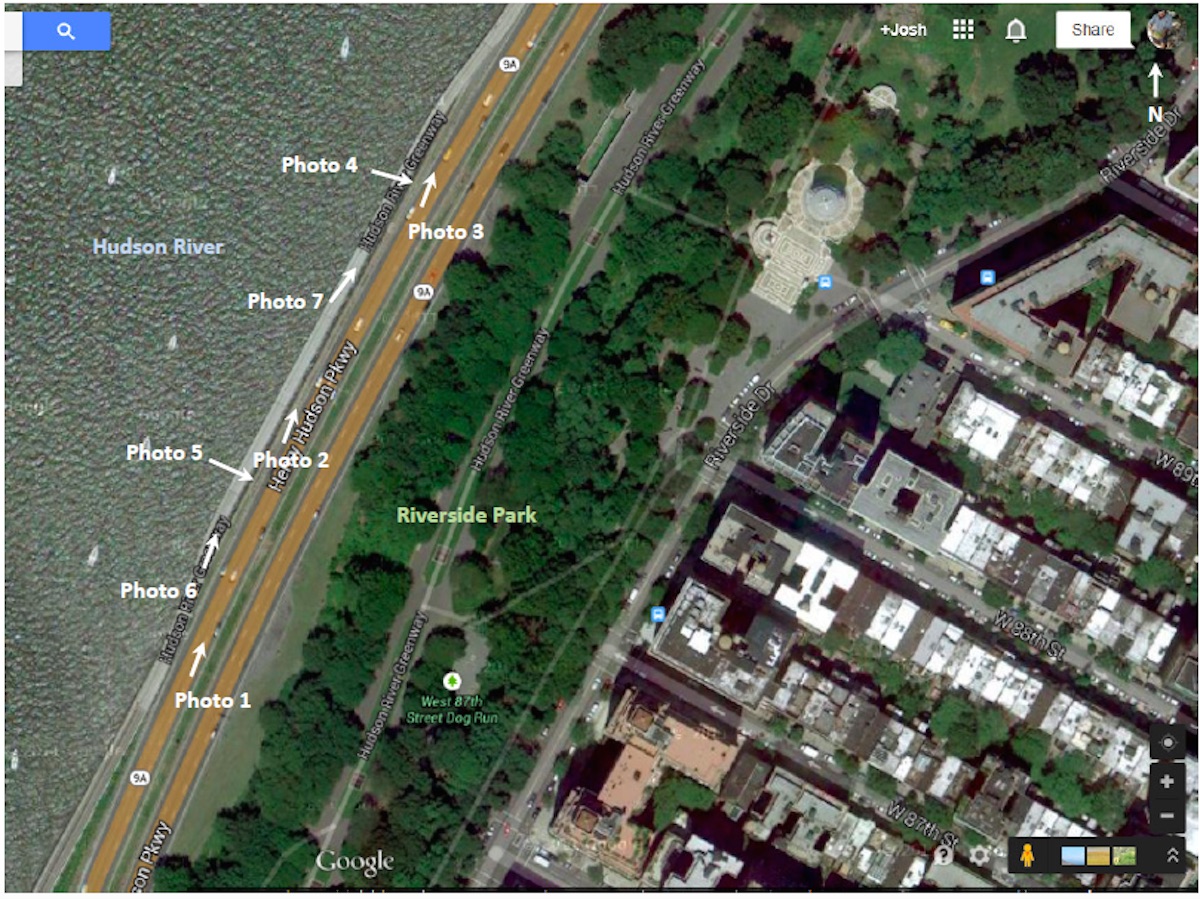
Photo Key Map
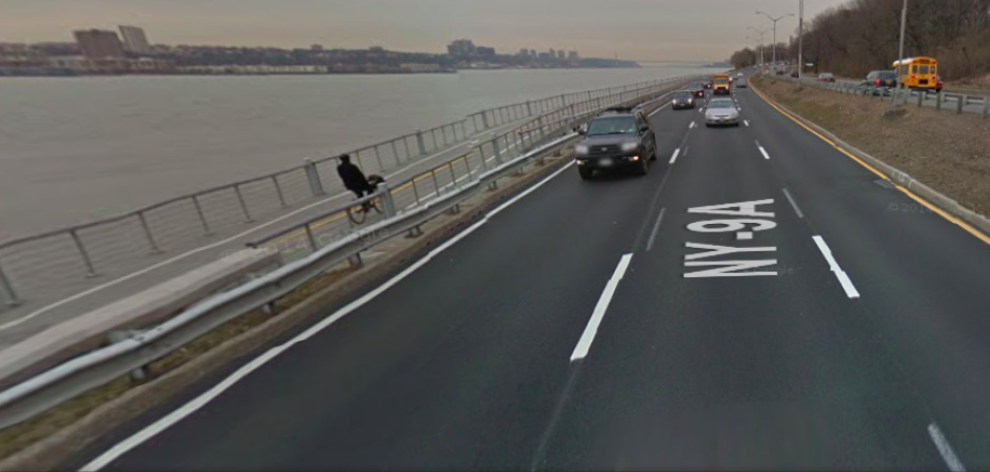
Photo 1:
Henry Hudson Parkway and Hudson River Greenway facing north from southern end of project.

Photo 2:
Henry Hudson Parkway and Hudson River Greenway facing north from central portion of project.
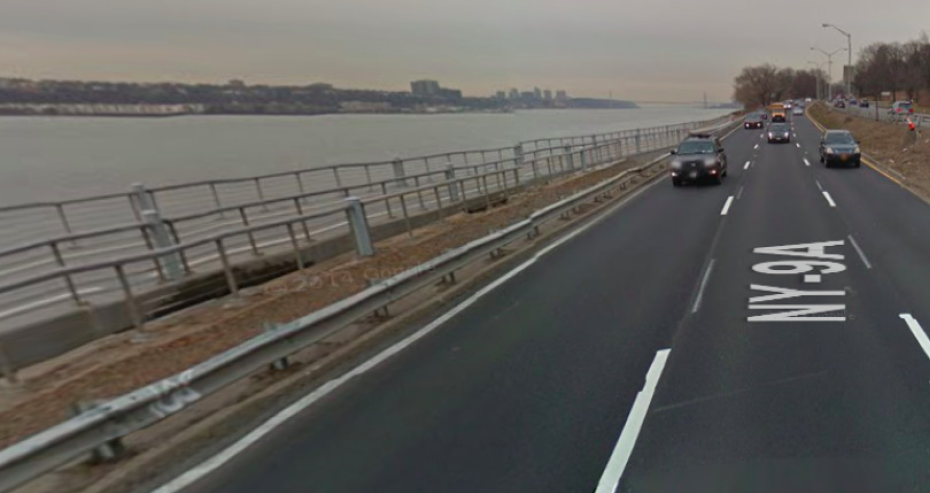
Photo 3:
Henry Hudson Parkway and Hudson River Greenway facing north from northern end of project.
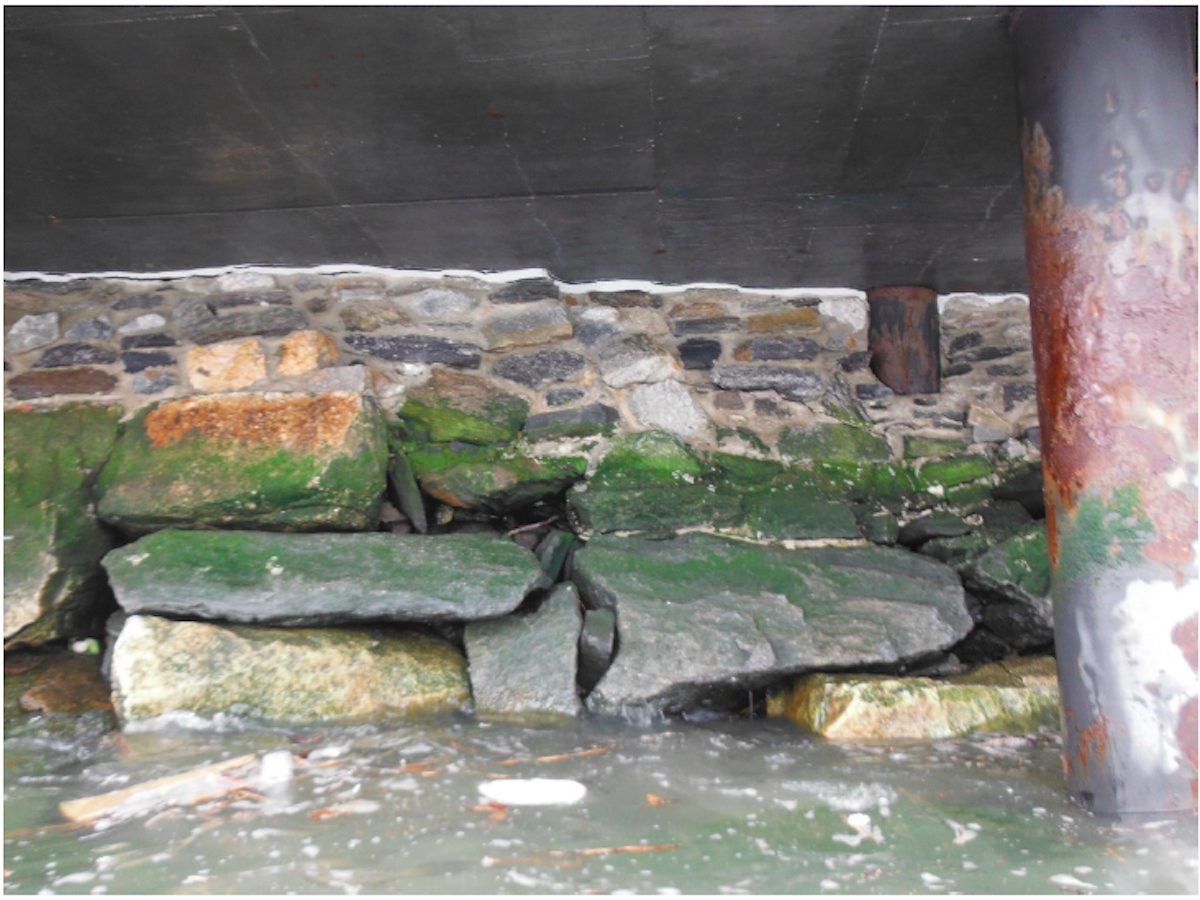
Photo 4:
View from Hudson River facing east under the Hudson River Greenway to the seawall.
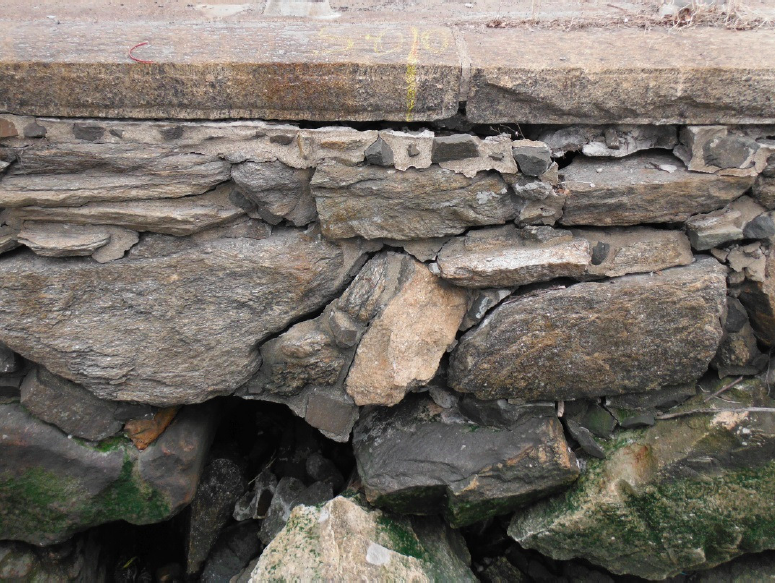
Photo 5:
Standing on the Hudson River Greenway facing east, view of top of seawall and granite cap.
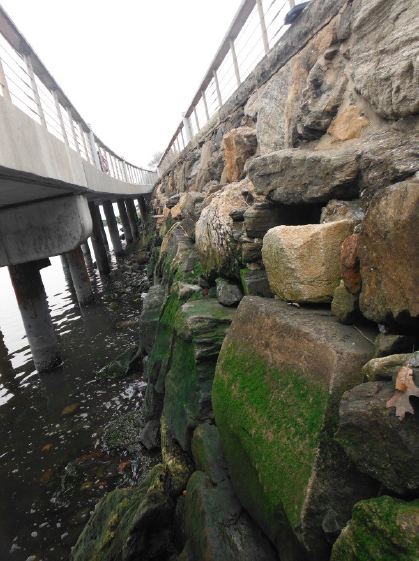
Photo 6:
Standing on southern end of project area facing north, view of Hudson River Greenway to the west and the seawall to the east.
Photo 7 from Photo Key Map:
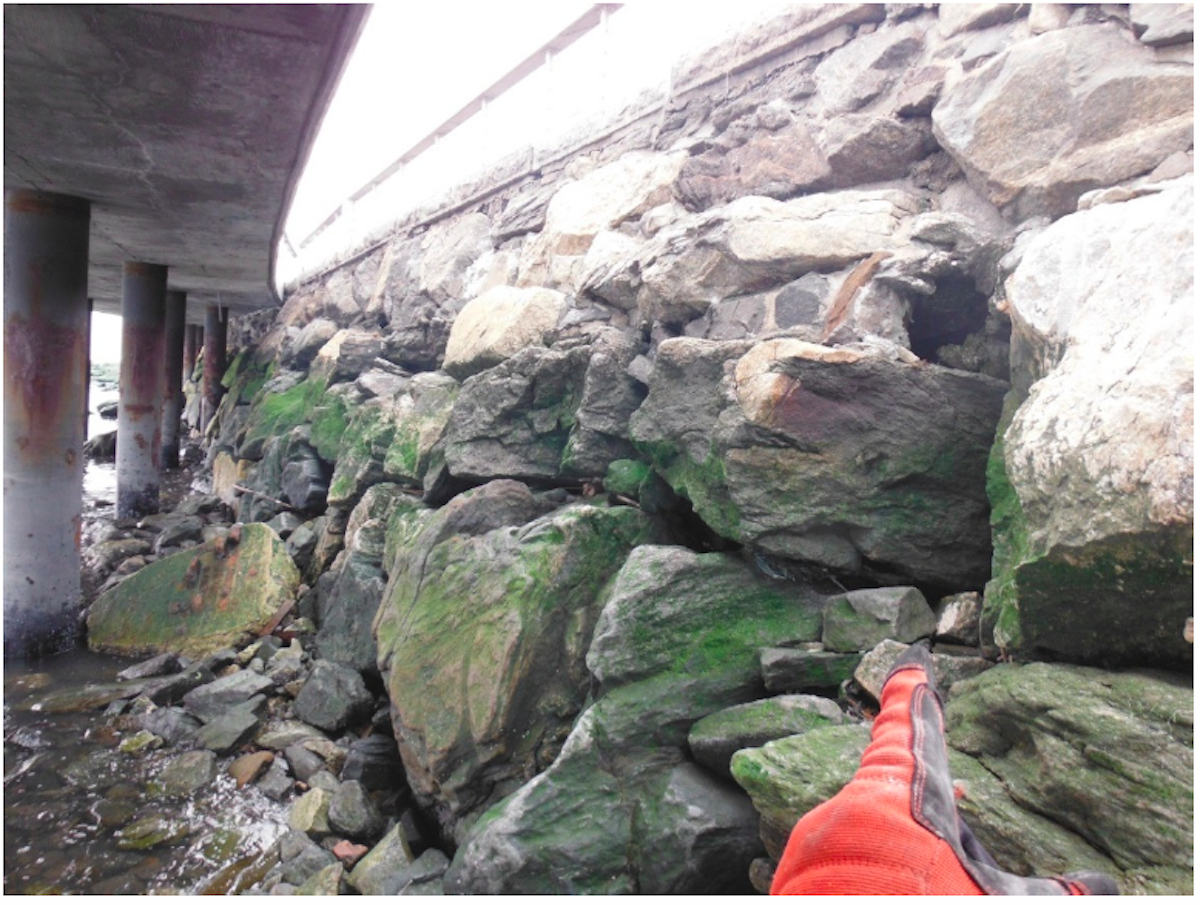
Photo 7 from Photo Key Map:
Standing on southern end of project area facing north, view of Hudson River Greenway to the west and the seawall to the east.
Do’s and Don’ts of Project Photography
DO
- Use color.
- Step back to get the entire scene, including bordering properties, if necessary.
- Get close-ups of items that may need repair.
- Print out at a high resolution if you’re taking digital photography.
- Use a photo key map, and label your photos with date, location, and what the viewer is seeing.
DON’T
- Take or use black and white photos .
- Use out-of-date photos.
- Submit unfocused photos.
- Submit less than three photos per scene.
- Take photos where snow (weather conditions) or loose/stored materials can hide the details of the site.